Tuesday, December 18, 2012

Better After

One of the blogs I love to look at for inspiration is Better After.
This blog is full of "re-dos" from small home decor items, to furniture pieces, to entire rooms.

Here are a few of my recent projects that I feel are "better after".

 I found this serving tray at a thrift store for $1.00, score! A little chalk paint and I have a drink cup tray for keeping tack of family members and guests' cups. And guess what? the kids loved it! They all enjoyed writing their names and were actually returning their cups to the spots they made. Win!
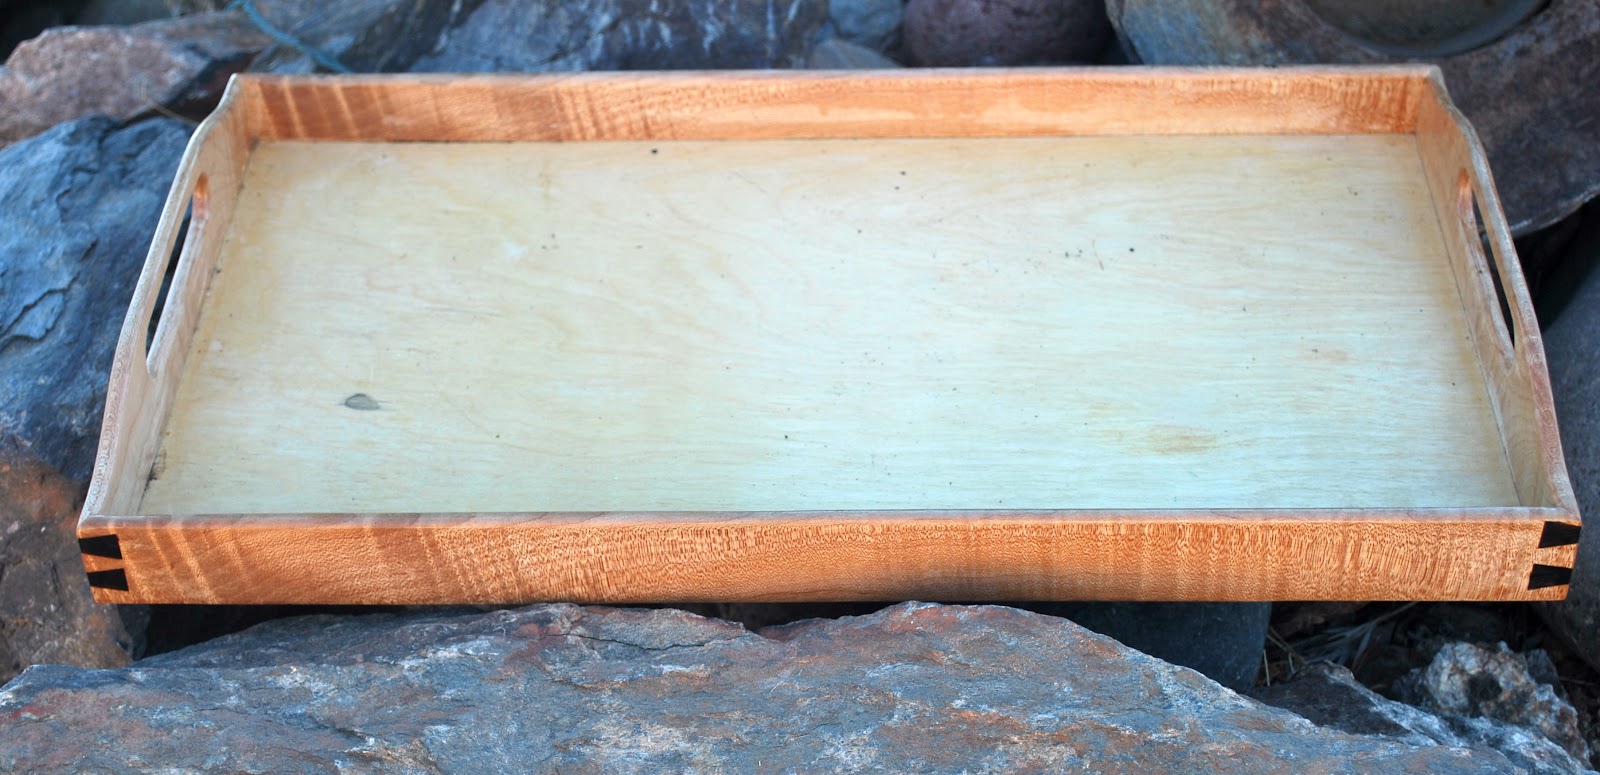
 I found my tray when I was looking for one for my secret Santa at work. I made some chalkboard label jars for her, and needed the tray to hold them. I think it would be fun for her to use hers for parties to label the food items she is serving. Here is hers before:
 Kinda ugly, if you ask me, but a great size and shape. And here is what I hope is better after:
 And finally, while thrifting for the tray I found the following shirt. Celeste was with me when I found it and thought I was crazy, at first. 
Celeste: "You're going to wear that?"
Me: "No, you're going to wear that."
Celeste: "um, no...". 

I did ease her worries when I told her I saw it as a pillow for her room, the color is perfect! And I even talked her into modeling it for the before pictures:
 
You're going to make me wear this?

 I can make it look good.....

 Ha ha ha, maybe not....


  But I do think it makes a good looking pillow!

Friday, November 30, 2012

Around Here

I have never been a good decorator. My home has always been a hodge podge of random furniture, pictures hung on the walls wherever I had space, and tons of "stuff" that tends to accumulate when you've got six people and been in your home 16 years!
The only room that is even decorated is Celeste/Sophie's room also seen here.

I am slowly figuring out my "style" (thanks mostly to Pinterest!) and starting to get some areas that I would actually say are intentionally decorated. I have tons more ideas that will take more time, money, and energy than I currently have, but I feel like I have an over-all idea of what I want my home to look and feel like.

So here is a little peek into what makes me happy:
This sums up my home perfectly!
Chalkboard frame: Merchant Square

Key locker: RodWorks
Frame: Barnsale

Mini Christmas tree: Ikea
Vintage ornaments from my granny.


 Antiques: various antique stores across the country
Fixtures: Ikea
On top of my fridge, makes me happy!
Locker Basket: Barnsale
Wine rack: Sweet Salvage

On top of my deep freezer. Someday I will have a hutch to display my Pyrex along with my Granny's china, Grandma's dishes, and great-grandmother's china.
Picnic basket: Sophie's barnsale purchase
Pyrex: Merchant Square and an Iowa antique store. 

More Pyrex that has joined the others, full set!: Turn Style Consignment
 The start of the girls' monogram wall! I will now be on the hunt for industrial "C's" and "S's".
 Large "C": Sweet Salvage
Jars: Container store
Chalk Board contact paper and Bistro Chalk Markers: Amazon

 And here is a mini tutorial for chalk board art (the "excuse the mess" sign was done with this same method):
 
1. Print your text in a fun font.
2. Rub chalk on the back of your printed paper.
3. Use a blunt item (back of a pen, etc) to trace the words onto the chalkboard, leaving a light chalk dust outline to follow.
4. Trace outline with chalk or a chalk marker.

Sunday, November 11, 2012

Busy, Busy

These past few weeks have been pretty busy around here.

First, Celeste spent part of her fall break at Scripps with Alexa, for some sister bonding time:
 We had a really big birthday, Sophie is now 10, double digits, woot woot! For her birthday, we went riding:
 
Sophie also was referred by her school nurse for.....

Glasses!

 Alexa came home for a quick 4 day weekend, my parents were here as well, and we took no pictures!

The boys went on their annual trip to the dunes for Halloween, and had a great time.

Then came Halloween. Michael carved pumpkins with the girlies:
 And for the first time in 15 years, my La Leche League group did NOT do the cakewalk! We had to actually make plans for Halloween. We went to trunk-or-treating at our neighbors' church, and then some trick-or-treating.

Here is Sophie as a "pretty witch" along with Sadie as her black cat:


And Celeste as Mario:


 And finally, Celeste turned 15! I know, I can't believe it either! She took pizza and cookies to school and then went to the movies with some friends. Boy are these kids growing fast!


And a sneak peek on what has been keeping me so busy, my next furniture re-do:

Sunday, October 7, 2012

Adventures in Furniture Painting (long)

I love all the painted furniture ideas I see on Pinterest. As my friend Lindsey said "I have decided that everything, EVERYTHING looks better painted". I have decided that, too! I have a big project to tackle for Alexa's room redo (with Annie Sloan Chalk Paint!), but I thought I would start a little smaller. I did research on all my Pins about painting laminate furniture and painting without sanding and came up with a plan!

This post is long, so for those of you who don't want to read on, here is my project:

Not too bad, huh?
Here's what I did-

My Products:

I got them all at Ace Hardware. Wood filler to fill in the old hardware holes, primer, "Aura" paint by Ben Moore {color-black bean soup} and the top coat. I deviated from most of the tutorials on the primer and top coat and chose products that are water washable {and less fumy/toxic}. We will have to see how they hold up. I also purchased the new drawer pulls at Ace, 75% off for $1.75 each. They match our bathroom fixtures which are all oil rubbed bronze as well.

Tools:

My research said that the Purdy paintbrush is a must, and after using it, I totally agree. It applies the primer and paint so smoothly! The tack cloth is for removing dust from sanding, and I used the foam roller on all the larger surfaces.

It was a long process, mostly due to long wait times, but here goes.

First, I removed the old hardware and cleaned it really well. Once it was clean, I filled in the holes with wood filler:
 I left the whole thing alone for a day. Then came the only, minimal sanding. We sanded the puttied areas and a few other areas that were not level {water damage, peeling veneer} and wiped it down with the tack cloth. Then I applied the first coat of primer:
You can see some lack of coverage with the first coat. I waited 12 hours to paint the second coat, then another 12 for the third:

 {after 3 coats of primer}

I let the primer dry for a few days before moving on to painting. 
 Love the Purdy brush!
First one coat:

 12 hours later, coat two:
 12 more hours, coat 3:
 Then we wait a few days again for the paint to cure and it's on to the topcoat.

You can't really see it, but it goes on thin and milky, and dries clear and is a satin finish. I did 2 coats of Polycrylic with, you guessed it, 12 hours between! 
Finished! Whew!
After that I left it alone for almost a week before I put on the hardware and moved it to its new home in my bathroom:


 Tony got me the really cute contact paper for the drawers.

I love it and I can't wait to get all the clutter put away in it!